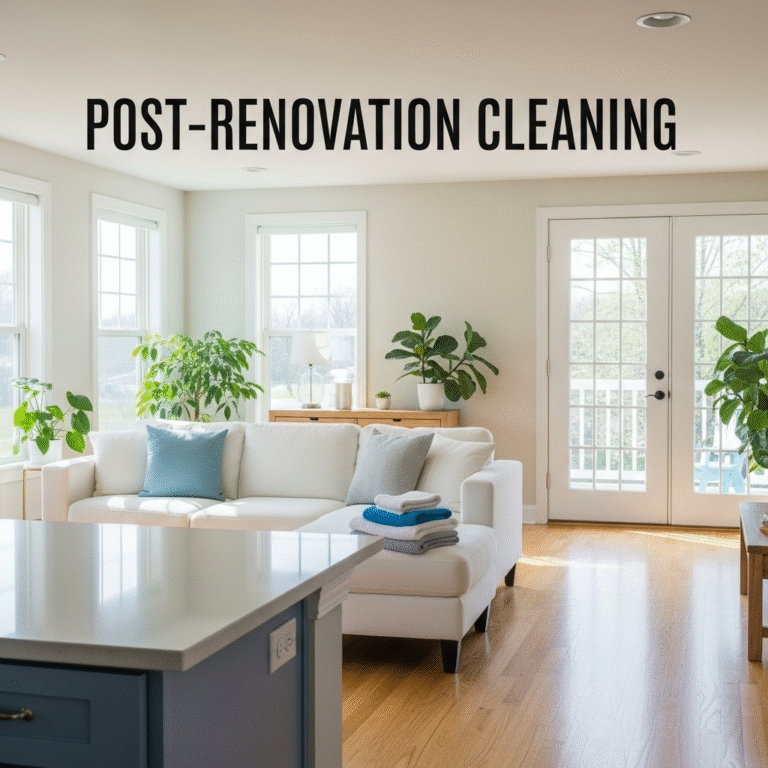
Renovating your home is exciting, but once the contractors leave, you’re often faced with a daunting reality: construction dust everywhere, debris in unexpected places, and surfaces that need deep cleaning before your space feels livable again. Post-renovation cleaning is a crucial final step that transforms your construction zone back into a comfortable home.
Why Post Renovation Cleaning Requires Special Attention
Construction and renovation work generate unique cleaning challenges that regular housekeeping can’t address. Fine dust particles settle into every crevice, construction adhesives leave residue on surfaces, and protective coverings often leave behind sticky marks. This specialized cleaning process ensures your newly renovated space is not only beautiful but also safe and healthy for your family.
The dust generated during renovation contains various particles, including drywall dust, sawdust, and potentially hazardous substances such as silica. These particles are much finer than regular household dust and require specific cleaning techniques to remove completely. Additionally, construction crews often leave behind materials such as paint splatters, adhesive residue, and grout haze that require targeted cleaning solutions.
Essential Supplies for Post-Construction Cleaning
Before beginning your post renovation cleanup, gather these essential supplies to make the process more efficient:
Start with protective gear, including dust masks, safety goggles, and heavy-duty gloves. You’ll need a HEPA-filter vacuum cleaner to capture fine particles, microfiber cloths in various sizes, and both wet and dry mops. Stock up on cleaning solutions, including all-purpose cleaners, glass cleaners, degreasing agents, and specialized products for removing construction adhesives and paint.
Don’t forget practical items like garbage bags, a step ladder for reaching high places, scrub brushes of various sizes, and plastic scrapers for removing stubborn debris without damaging surfaces. Having everything ready before you start prevents interruptions and makes the cleaning process more systematic.
Step-by-Step Post Renovation Cleaning Process
Phase 1: Initial Debris Removal
Begin by removing all large debris and construction materials. Walk through each room with heavy-duty garbage bags, collecting leftover materials, packaging, and any obvious trash. Check inside cabinets, closets, and behind appliances where debris often hides. Remove any protective coverings from floors, countertops, and fixtures, being careful not to spread dust as you work.
Open windows if the weather permits to improve ventilation during cleaning. This helps dust particles settle and provides fresh air circulation. If you have an air purifier, set it up in the room you’re currently cleaning to help capture airborne particles.
Phase 2: Dust Removal from Top to Bottom
Always clean from the ceiling to the floor to avoid re-contaminating cleaned surfaces. Start with ceiling fans, light fixtures, and crown molding using a vacuum with a brush attachment or a microfiber duster with an extension pole. Wipe down walls with a barely damp microfiber cloth, paying special attention to corners where dust accumulates.
Clean air vents and replace HVAC filters that may have become clogged with construction dust. Vacuum window sills, door frames, and baseboards thoroughly. Don’t forget often-missed areas like the tops of doors, inside electrical outlets (with power off), and behind radiators.
Phase 3: Deep Cleaning Surfaces
After dust removal, focus on deep cleaning all surfaces. Kitchen countertops may have construction adhesive or grout residue that requires gentle scraping followed by thorough cleaning with appropriate products. In bathrooms, remove any grout haze from tiles using specialized cleaners and pay extra attention to newly installed fixtures to remove protective films and stickers.
Clean windows inside and out, removing any paint overspray or adhesive from protective films. Use a glass scraper for stubborn spots, being careful not to scratch the glass. Wipe down all cabinet interiors and exteriors, drawer slides, and hardware with appropriate cleaners.
Explore more: Mine Article
Phase 4: Floor Cleaning
Floors typically require the most intensive cleaning after renovation. Start by thoroughly vacuuming with a HEPA-filter vacuum, going over each area multiple times. For hard floors, follow up with damp mopping using a cleaning solution appropriate for your flooring type. You may need to mop several times, changing the water frequently as it becomes dirty.
For carpeted areas, consider professional cleaning if construction dust has penetrated deeply. If cleaning yourself, vacuum slowly in multiple directions and consider renting a carpet cleaner for best results. Pay special attention to edges and corners where dust tends to accumulate.
Room-Specific Cleaning Considerations
Kitchen Post-Renovation Cleaning
Kitchens require extra attention due to food preparation concerns. Clean inside all appliances, including behind and underneath them. Wipe down all cabinet interiors before placing dishes or food items inside. Clean exhaust fans and range hoods thoroughly to remove construction dust that could later contaminate food.
Run the dishwasher empty with a cleaning cycle to clear any dust from the system. Similarly, flush the garbage disposal with plenty of water and cleaning solution. Sanitize all food preparation surfaces after cleaning to ensure they’re safe for use.
Bathroom Cleaning After Renovation
Bathrooms need careful attention to remove construction residue from fixtures and ensure all surfaces are hygienic. Remove any grout haze from tiles and clean grout lines thoroughly. Check that drains are clear of debris and run water through all fixtures to flush the plumbing system.
Clean exhaust fans to ensure proper ventilation and prevent dust from circulating when the fan operates. Disinfect all surfaces including toilet fixtures, sink basins, and shower areas. Polish chrome fixtures and mirrors to remove any protective films or fingerprints left during installation.
Living Areas and Bedrooms
In living spaces, focus on creating a dust-free environment for comfortable daily living. Vacuum upholstered furniture thoroughly, including under cushions and in crevices. Clean ceiling fan blades carefully to prevent dust from falling onto cleaned surfaces when the fan operates.
Wipe down all electronics with appropriate cleaning products to remove fine dust that could affect their operation. Clean inside closets before returning clothing and belongings, and consider washing curtains or having them professionally cleaned if they were exposed to significant dust.
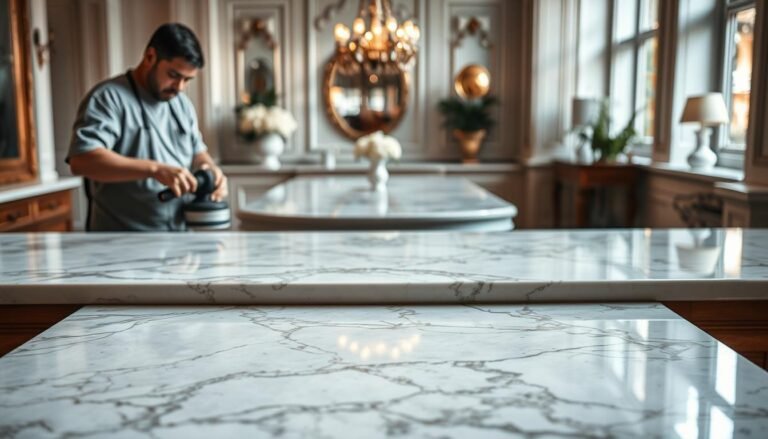
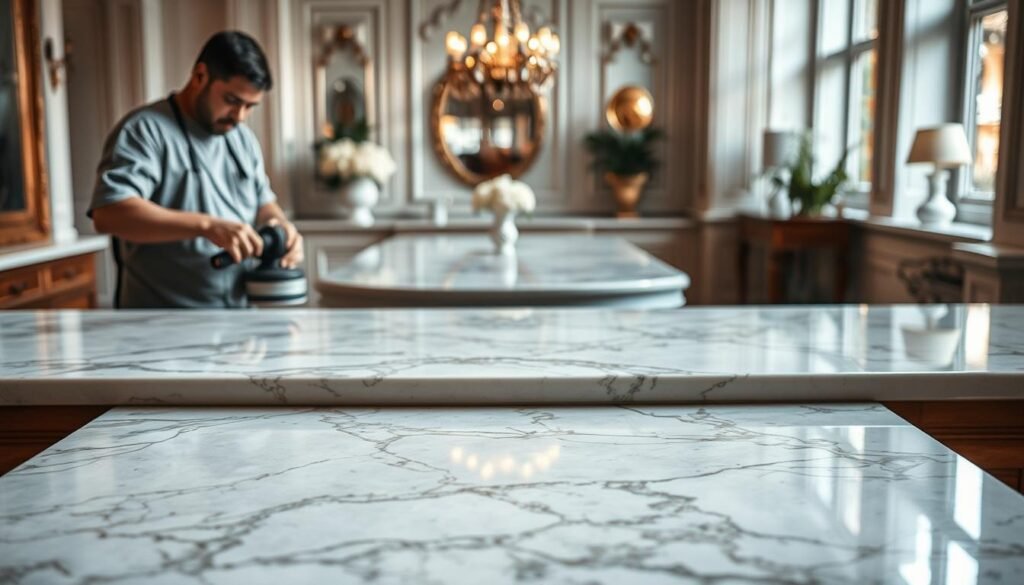
Professional vs. DIY Post-Renovation Cleaning
While many homeowners successfully handle post-renovation cleaning themselves, professional services offer several advantages. Professional cleaners have industrial-grade equipment including powerful HEPA vacuums and specialized cleaning solutions. They’re experienced in identifying and addressing construction-specific cleaning challenges and can often complete the job more quickly and thoroughly.
Consider professional cleaning for large renovations, time constraints, or if family members have respiratory sensitivities. The cost typically ranges from $300 to $800 depending on home size and renovation scope, but many find it worthwhile for the time saved and superior results achieved.
Health and Safety Considerations
Post-renovation cleaning involves exposure to potentially harmful dust and chemicals. Always wear appropriate protective equipment including N95 masks when dealing with fine dust particles. Ensure adequate ventilation throughout the cleaning process and take regular breaks in fresh air.
Be cautious with ladder use when cleaning high areas and never mix different cleaning chemicals, which could create dangerous fumes. If you encounter suspicious materials like old insulation or unusual dust, stop and consult professionals about potential asbestos or lead paint concerns.
Maintaining Cleanliness After Initial Cleanup
Even after thorough post renovation cleaning, fine dust may continue to appear for several weeks. Run your HVAC system with new, high-quality filters and change them more frequently than usual for the first few months. Continue to vacuum regularly with a HEPA-filter vacuum and damp-dust surfaces weekly.
Consider scheduling a follow-up deep cleaning after a month when any remaining dust has settled. This ensures your renovation investment is protected and your home remains a healthy environment for your family.
Final Inspection Checklist
Before considering your post-renovation cleaning complete, conduct a thorough final inspection. Check all surfaces under bright light to spot any missed dust or residue. Run your hand along surfaces wearing a white glove to detect fine dust. Ensure all protective materials have been removed from appliances and fixtures.
Test all renovated systems, including plumbing, electrical, and HVAC, to ensure they’re functioning properly and free of dust. Open and close all windows and doors to verify smooth operation and clean tracks. Finally, take photos of your clean space to document the condition and celebrate your renovation success.
Post renovation cleaning is the final step that transforms your construction project into a livable, beautiful space. Whether you tackle it yourself or hire professionals, thorough cleaning protects your renovation investment and ensures a healthy home environment. With patience, the right supplies, and a systematic approach, you’ll soon be enjoying your newly renovated space in all its clean, dust-free glory.